I’ve been meaning to do this post for a while. Partly because I hope it might help other people get a nice finish on their garments, but also because I always forget which way round I need to do this, so it will be helpful to have a handy tutorial right there in front of me. So – here’s a step by step account of how I sew sleeveless bodice linings in – I hope the instructions are clear and that at least some people find it useful.
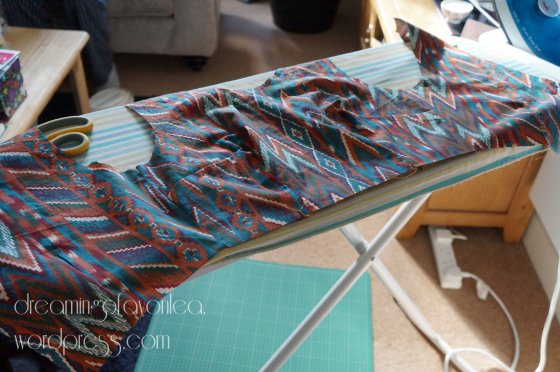
Step 1. Cut out lining and fabric from bodice pattern pieces.
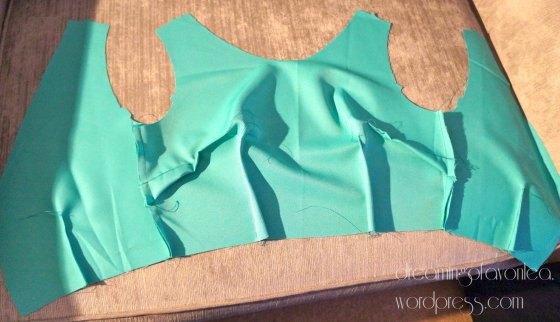
Step 2. Make up bodice lining and fabric, including attaching at side seams.
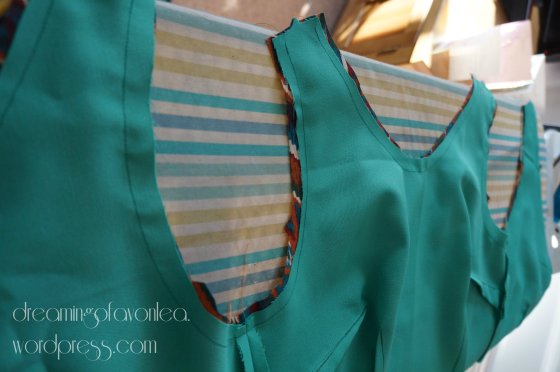
Step 3. Right sides together, sew lining to main fabric at necklines and armholes (not joined at shoulders yet).
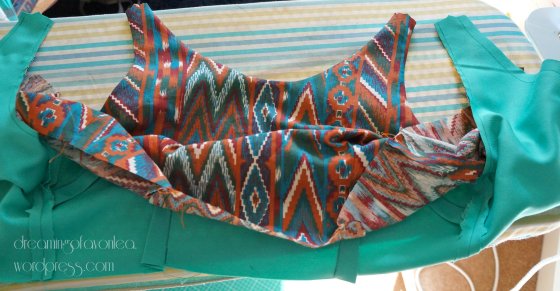
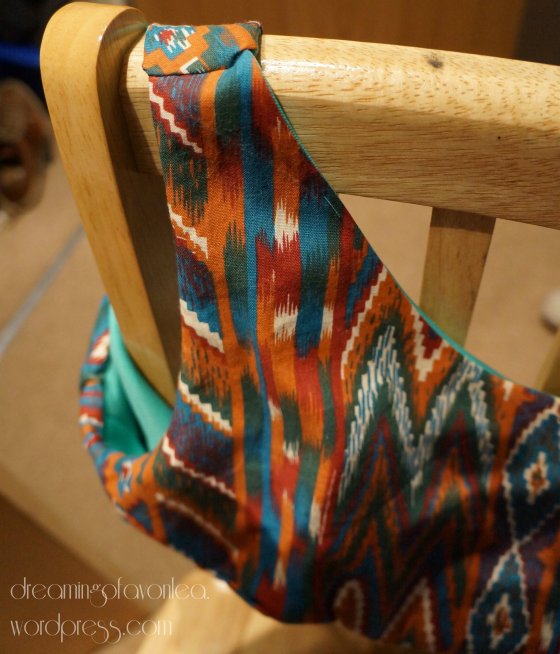
Step 4. Turn bodice front the right way round (it will look odd and bunched up, but don’t turn the back bodice out yet). Press the shoulder seams and neckline so that they will be nice and neat.
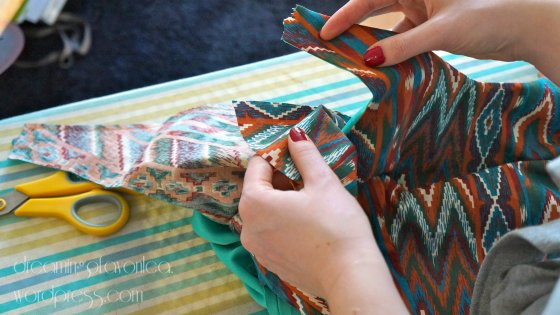
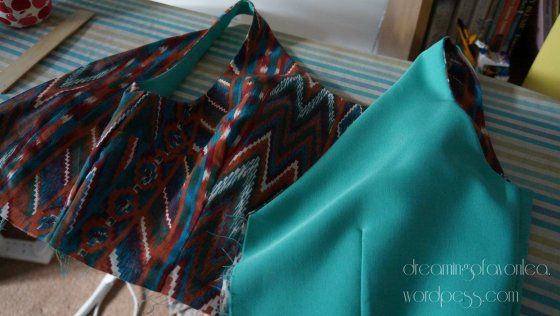
Step 5. Lay the bodice down with the bodice front outer fabric facing up to you and slip over the back bodice straps making sure that right sides of the fabric are facing (and the right sides of the lining) and that none of the straps are twisted. Hopefully this is clear in the photos!
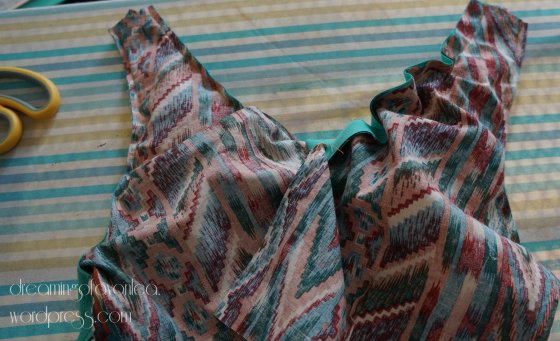
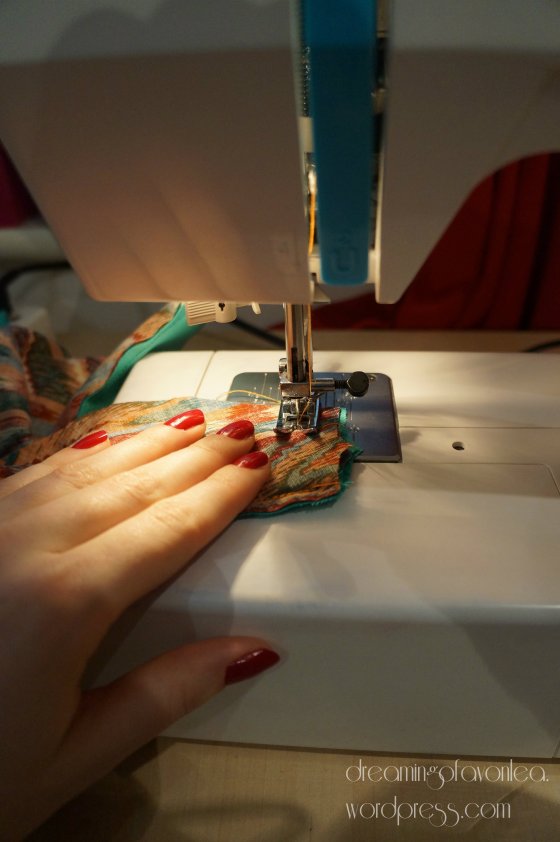
Step 6. Sew across the shoulder (use your seam allowance measurements).
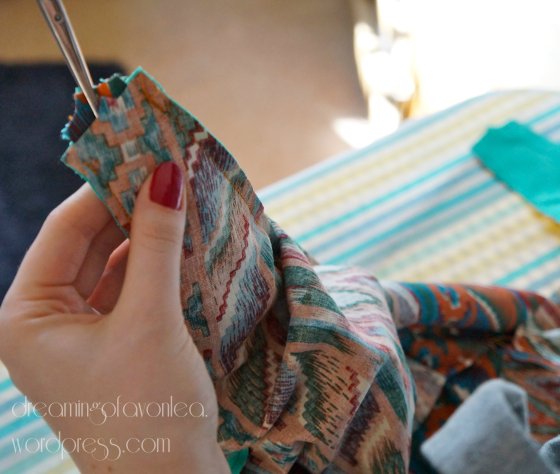
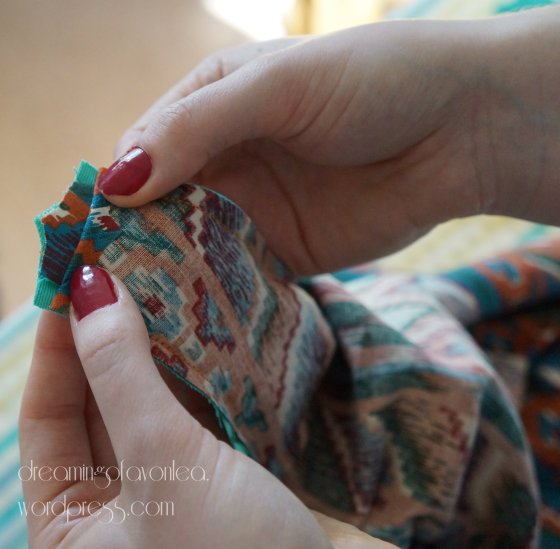
Step 7. Pull out and check it’s all in the right place (believe me this is an important step before you trim!!)
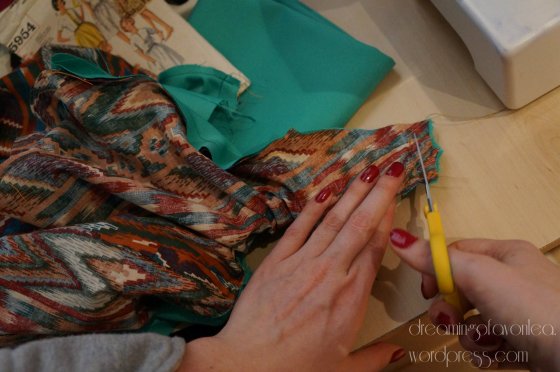
Step 8. Turn back inside out and trim and clip seams.
Step 9. Pull back out and press! Done.
Still to come – the finished dress with some extra features! Hope this is at least helpful to someone!



Pingback: Print and Lace Dress | The Monthly Stitch
Pingback: Multiple Technique Dress – Emma and her Machine
Thanx for the tutorial very helpful, if i can ask a question will you be able to do this with a full dress after you have attached the lining on the zip?
I’m glad you found it helpful. I tend to do these steps first and then add the zip to the outer layer of fabric before hand stitching the lining to the zipper tape. Hope that makes sense!
Amazing!!! After I sewed everything together so I couldn’t turn it right side out I found this! Seam ripped the right parts open and continued on. Worked perfectly! I’ll never hand stitch bodice shut again!!
Ah I’m so pleased. I thought I’d do a tutorial as I’m always forgetting! Glad it worked for you 😊
Pingback: Pretty Prom Dress | mfarmerDesigns
Just found your tutorial, just a bit too late for this first dress I made (you don’t want to see how I end up there) On the bright side, from now on I’ll be able to finish those shoulder parts perfectly! So thanks a lot!
Glad you found it and that it can help with your next dress – you’ll have to show me a pic if you use the tutorial and it works! x
Will do! My next dress is one for my mother, and I will be working on it this weekend.
Pingback: Tutorial – Sleeveless Bodice Lining | Spread Your Wings And Craft
Pingback: Happy Birthday to me! | dreaming of avonlea
I have always wanted to learn how to sew the bodice with a linning.Thanks this helped.
Thanks – I’m glad it helps! x
Pingback: Ikat at Iolani | dreamingofavonlea
Nice tutorial! I’ve used that method a few times. You explained it very clearly.
Very helpful. I’ll refer to this next time I need it.
A great tutorial. It is really clear and easy to follow. I use this technique 80% of the time, I find it the easiest and neatest way of finishing bodice hems.
I ave a question for you… where did your blog name come from?
xxx
Thanks. It’s from the best book of all time. Anne of Green Gables. I always always wanted to be her so now I can express that every time I write a post lol xxx
I have never read it, never even heard of it actually. what is it about? xxx
It’s the best kids story about a little red haired orphan and the magical imagination she has! Plus Gilbert Blythe (the lead male role if you will) is an absolute dream! Here’s what amazon says: xxx
Marilla and Matthew Cuthbert are in for a big surprise. they are waiting for an orphan boy to help with the work at Green Gables – but a skinny, red-haired girl turns up instead. Feisty and full of spirit, Anne Shirley charms her way into the Cuthberts’ affection with her vivid imagination and constant chatter. It’s not long before Anne finds herself in trouble, but soon it becomes impossible for the Cuthberts to imagine life without ‘their’ Anne – and for the people of Avonlea to recall what it was like before this wildly creative little girl whirled into town.
You can tell you are a teacher 😀 That was a very informative reply!
The story sounds good though, I might even give it a read… if I can find time xxx
Thanks for this tutorial, it will come in very handy!
Glad to hear that! x